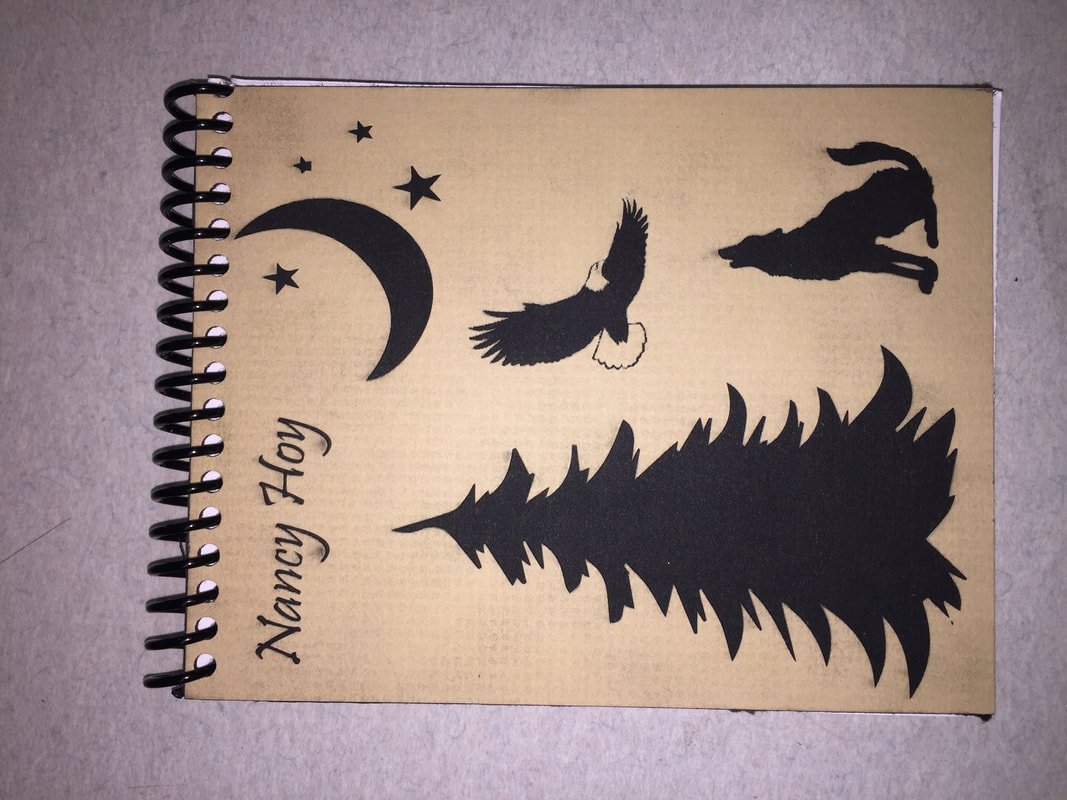
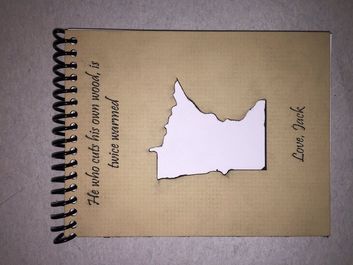
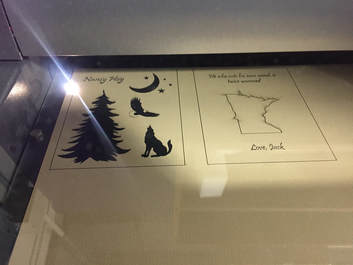
The Notebook
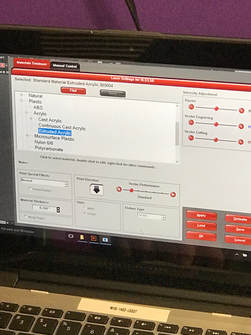
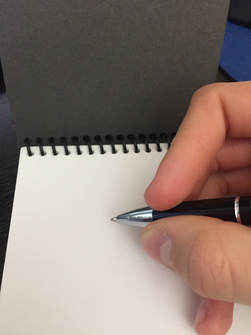
I wanted to create a special notebook for my grandmother, so I began with a sketch in my designers notebook. After I created my sketch, I crafted it in the illustrator software and proceeded to the next stage. After loading the file into the computer and adjusting the settings for the material type, I uploaded it into the UCP software. From here, I move around the focus tool trying to find the most efficient way to make use of the matt board. After doing so, I proceeded to hit print, which then cut out and engraved my notebook. After it was finished printing, I took it out of the laser machine and inserted the paper specifically cut for the notebook. Once I strung through the binder cord, it was ready to go. My grandmother will love it!

|
|
|
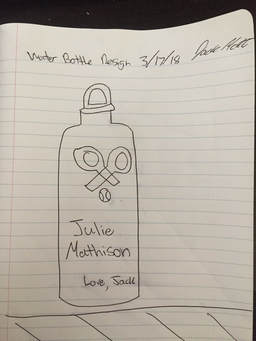
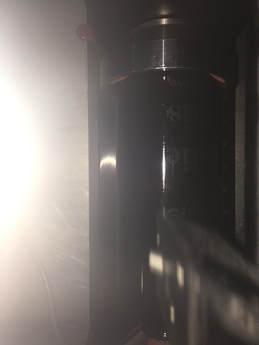
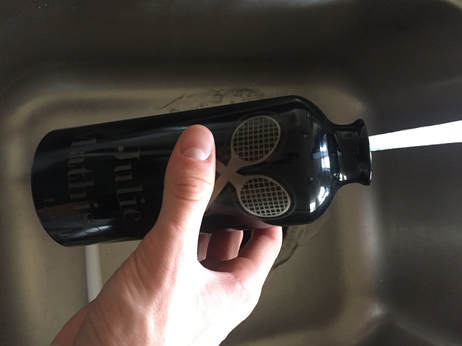
The Water Bottle
My mom is turning 50 next week and I decided that I would dedicate the water bottle project to her for her birthday. I thought through some designs in my head and then finally came up with a good one and scribbled it out into my designer notebook. After using Inventor to lay out my water bottle design, I took it down to the laser. Before I could start anything, I had to take out the laser bed and put in the rotational jig. Once I squared up the jig and plugged it in, I was ready to go. I uploaded my design to the computer and changed the material type and selected the correct printing option. Once I did this, I uploaded it to the UCP and found where my design would fit and pressed go! I was very fascinating to watch it print. After it was all done I rinsed it off with water and wrapped it up for my moms birthday!
|

|
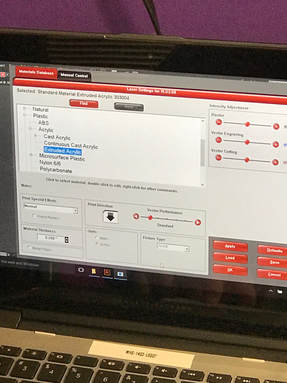
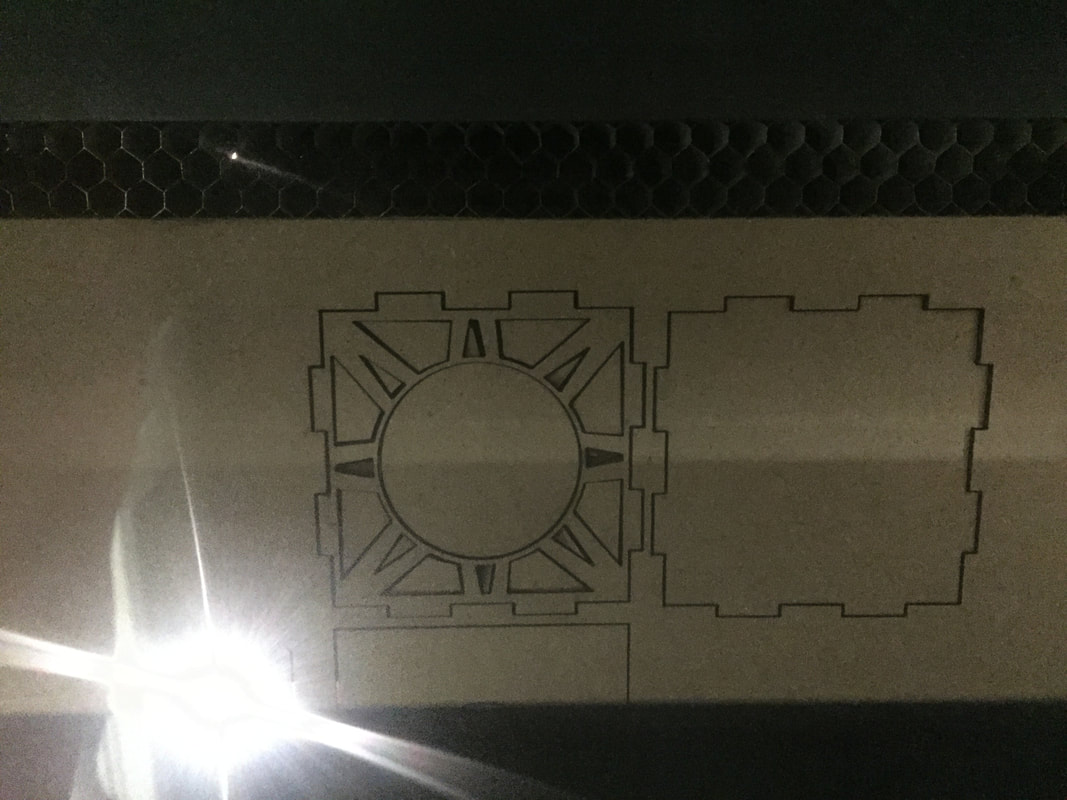
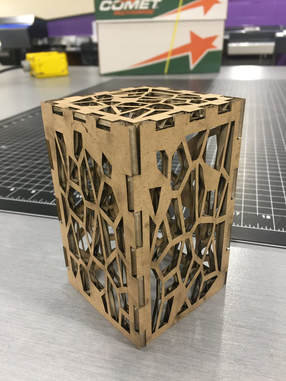
Candle Shield
I struggled to find something that I could use on the thingiverse website. After looking for quite some time I found a candle shield that I could use almost everyday. As girly as it might seem, I love lighting candles. I downloaded the file from the website and started deleting lines that were too close to one another or were too small that would start a fire. After I completed that, I took it down to the laser and selected the accurate material and uploaded into the UCP. Once I figured out the location of printing using the adjusting tool, I selected print. I had trouble with the cardboard staring on fire, so I went back into the design and edited out more small lines that intersected. Once I did this, it printed fine. I ended up with a perfect candle shield that fit together perfectly.
|
|
|
What I learned...
I learned from using the laser machinery that the possibilities are endless. The machines cut so precisely and accurately, I could only image what entrepreneurs will be able to do with them in the future. I enjoyed using the software and the machines very much. It has been the hardest of the rotations so far, but it was manageable thanks to the walk through guides on the website. I look forward to being able to use them again in the future. Until then, I can only think of other things to create on them!
