What is Illustrator?
Illustrator is a vector drawing software program that specializes in creating 2D objects. It enables perfect symmetry and accurate design patterns. This software is perfect for deigning key chains, logos, and images not able to be drawn and processed freehand. Illustrators software is very efficient and is very easy to use. Not only will your drawings be done faster and easier, but they will be created exactly as you design them.
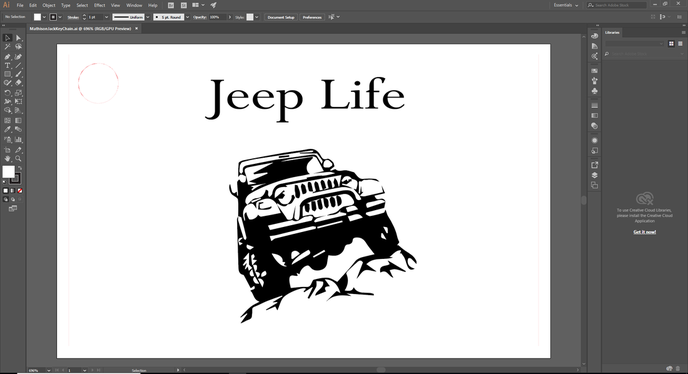
This is how your illustrator file should be formatted before it is uploaded into the laser engraver.
Note: Red lines indicate cutting.
Blue lines indicate vector engraving
All other colors indicate raster engraving
Note: Red lines indicate cutting.
Blue lines indicate vector engraving
All other colors indicate raster engraving
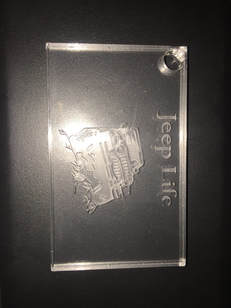
This is the result after cutting out our key chains in the laser
Steps for the laser
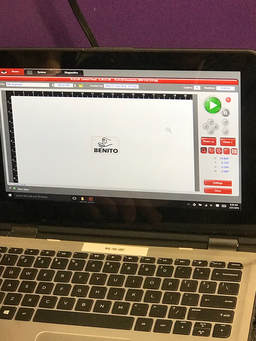
1. Take your file from illustrator and upload it to the computer next to the laser.
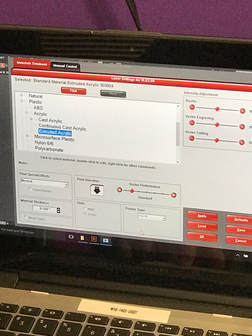
2. Download into the UCP
3. Move the laser around on the material to cut where you want it to. Do this by watching the red laser guide aiming at your material for guidance.
3. Move the laser around on the material to cut where you want it to. Do this by watching the red laser guide aiming at your material for guidance.
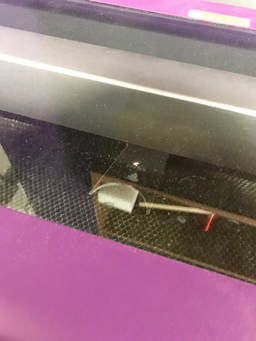
4. Now press the green button to engage the laser.
5. Watch the laser do its amazing work.
5. Watch the laser do its amazing work.
During class, to label our class notebooks, we used the vinyl cutter to cut out our names, and paste them to the front of our notebooks. To do so, we typed up our name and hour in Illustrator and sent them to the vinyl cutter. We soon had all of our names outlined on the vinyl, ready to be cut out.
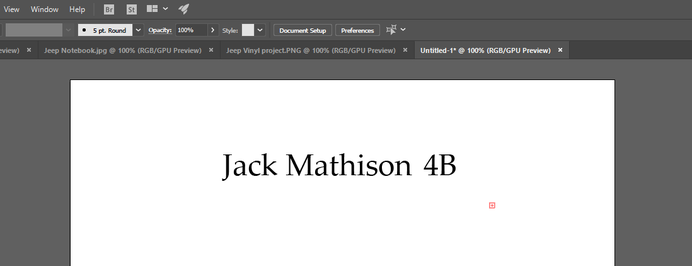
After our names and hour were typed into Illustrator, through Cut Master, we were able to have them cut out and pasted to our designer notebooks.

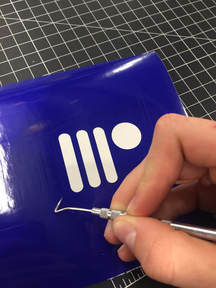
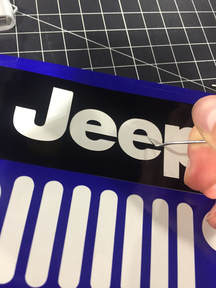
How to Apply a Vinyl Decal
1. The first step after receiving your perimeter traced decal from the vinyl cutter, is to take away the waste.
2. The next step is to stick a piece of tape covering the entire decal.
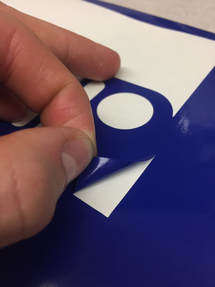
3. Now remove the tape, carefully use a dental tool to push down on the decal back onto the tape.
4. Once you have a piece of tape with your decal attached to it sticky side up, place over the object that you want the decal to be on.
5. Use a scraper to pus the decal and tape onto the surface.
6. Gently, pull back the tape and using a dental tool again push down on the decal, leaving it on the object.
2. The next step is to stick a piece of tape covering the entire decal.
3. Now remove the tape, carefully use a dental tool to push down on the decal back onto the tape.
4. Once you have a piece of tape with your decal attached to it sticky side up, place over the object that you want the decal to be on.
5. Use a scraper to pus the decal and tape onto the surface.
6. Gently, pull back the tape and using a dental tool again push down on the decal, leaving it on the object.
|
|
|